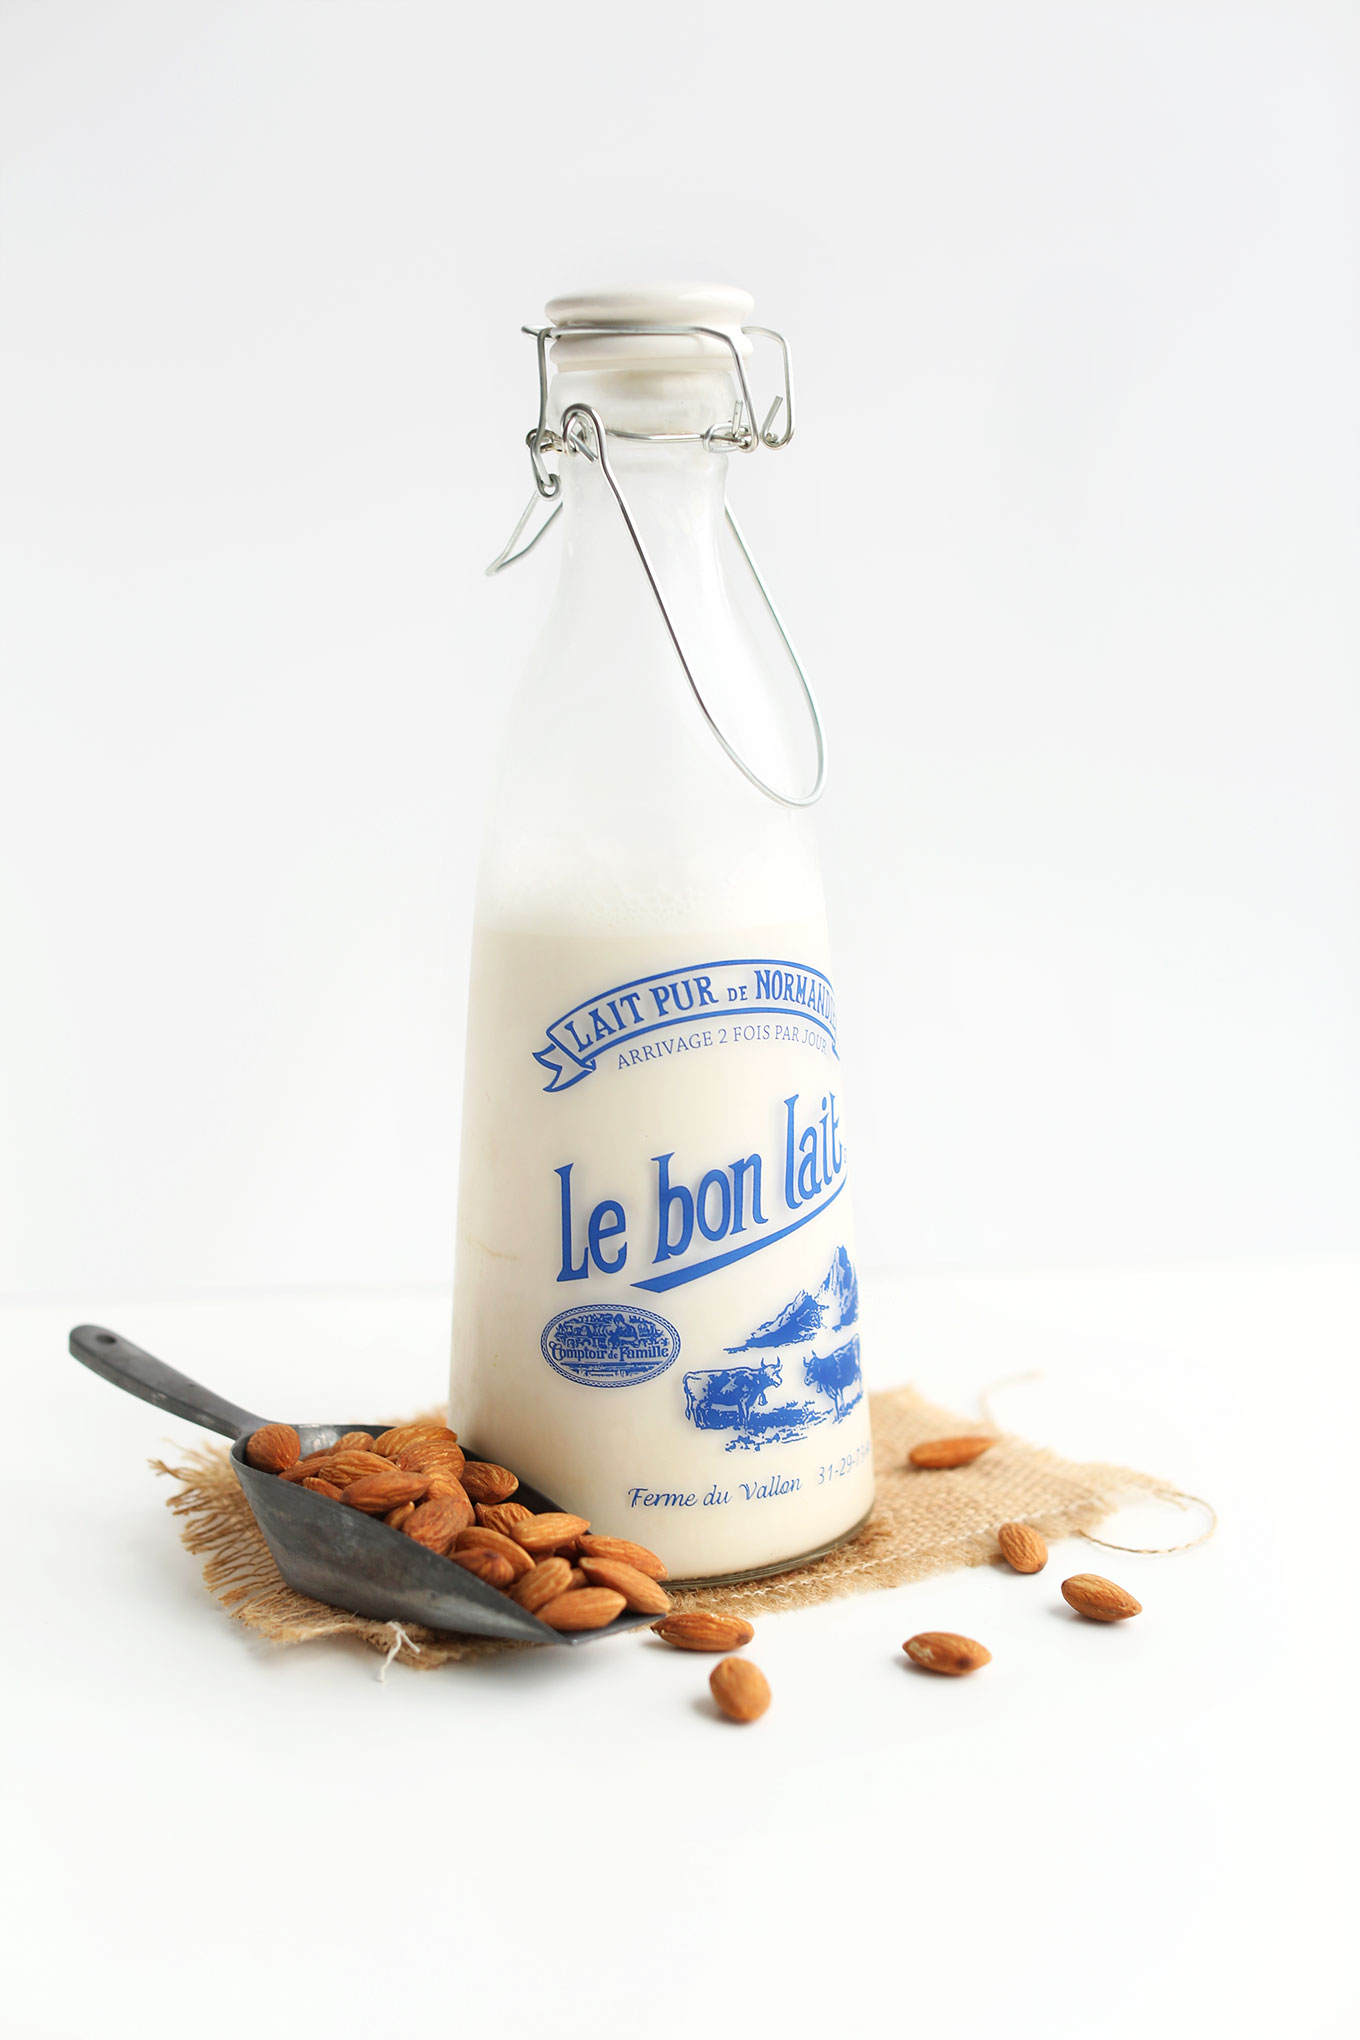
Imagine a tall glass of perfectly chilled, creamy almond milk, brimming with a fresh, nutty aroma and a taste so rich it makes store-bought versions pale in comparison. What if we told you this delightful experience isn't a luxury, but a simple reality achievable in just minutes? Welcome to the world of homemade almond milk, where purity, flavor, and customization reign supreme. Forget the hidden additives and blandness of supermarket cartons – our comprehensive almond milk recipe is your gateway to a truly blissful beverage that will revolutionize your morning coffee, smoothies, and cereal.
The Unbeatable Appeal of Homemade Almond Milk
There's a reason why so many are making the switch to crafting their own plant-based milks. The difference between homemade and store-bought almond milk is not merely subtle; it's transformative. This isn't just about making milk; it's about elevating your culinary experience with a product that's superior in every conceivable way.
Quality Over Cost: Why Homemade Wins
One common misconception is that making your own almond milk is a budget-saver. In truth, it's often not cheaper than the most economical store brands. However, the value proposition isn't found in the price tag, but in the unparalleled quality. When you prepare your own almond milk, you are in complete control of the ingredients, ensuring a product free from gums, emulsifiers, and preservatives that are standard in commercial varieties. You're choosing pure almonds and water, nothing more.
This commitment to purity translates directly into taste. The fresh, nutty aroma, the velvety mouthfeel, and the genuinely rich flavor of homemade almond milk are simply in a league of their own. It's an experience that packaged alternatives, despite their convenience, can't replicate. The ability to customize your flavors, from a touch of sweetness to exotic spices, is truly the best part, making every batch uniquely yours. To delve deeper into the stark differences, explore our insights on Homemade vs. Store-Bought: The Truth About Almond Milk Quality.
Nutritional Nuances: What You Get (and Don't Get)
While homemade almond milk offers a delightful taste and a clean ingredient list, it's important to understand its nutritional profile. Almonds themselves are packed with healthy fats, protein, and fiber, but when they are processed into milk, many of these nutrients, particularly fiber, are lost in the straining process. Think of it like drinking apple juice versus eating a whole apple – both come from the same source, but the whole fruit offers a much richer array of nutrients.
That said, homemade almond milk still retains some of the beneficial aspects of almonds, such as a portion of Vitamin E and healthy fats, especially if you opt for a less heavily strained version. Its primary role in many diets is as a delicious, dairy-free alternative for hydration and as a base for smoothies, cereals, and other recipes. It's naturally low in calories and carbohydrates (when unsweetened), making it a great choice for those mindful of their sugar intake or following specific dietary plans.
Mastering the Minimalist Almond Milk Recipe: Ingredients & Equipment
The beauty of this almond milk recipe lies in its simplicity. You don't need a pantry full of obscure ingredients or a professional kitchen setup. Just a few basic items stand between you and homemade almond milk bliss.
Essential Ingredients for Your Almond Milk Recipe
- Raw Almonds: Opt for high-quality, unroasted, unsalted raw almonds. Blanched or slivered almonds can also work, but whole raw almonds provide the richest flavor.
- Filtered Water: Since water makes up the bulk of your milk, using filtered water ensures the purest taste, free from tap water impurities or chlorine flavors.
- Pinch of Sea Salt: A tiny dash of sea salt isn't for saltiness, but rather to enhance and round out the natural nutty flavor of the almonds. Don't skip it!
- Optional Sweetener: If you prefer sweetened milk, soft pitted dates, maple syrup, or agave nectar are excellent natural choices. Add them to taste during the blending stage.
- Optional Flavorings: Vanilla extract is a classic addition, but the possibilities are endless for customization.
Must-Have Equipment
- High-Speed Blender: This is your most crucial tool. A powerful blender will break down the soaked almonds into a smooth, creamy liquid, minimizing pulp and maximizing milk yield. Standard blenders might struggle to achieve the desired consistency.
- Nut Milk Bag or Fine-Mesh Strainer with Cheesecloth: To separate the almond milk from the pulp, you'll need a straining device. A dedicated nut milk bag is ideal as it's designed for efficiency and durability. Alternatively, a few layers of clean cheesecloth draped over a fine-mesh sieve or even a clean, thin kitchen towel can work in a pinch.
- Airtight Container: A glass mason jar or a sealable bottle is perfect for storing your fresh almond milk in the refrigerator.
Your Step-by-Step 10-Minute Almond Milk Recipe
The journey to homemade almond milk bliss begins the day before, but the actual hands-on work is incredibly quick, living up to our "10-minute" promise.
The Overnight Soak: A Crucial First Step
While often overlooked, soaking your almonds is paramount for several reasons. It softens the nuts, making them significantly easier for your blender to break down into a smooth, creamy liquid. This process also helps to neutralize phytic acid, an anti-nutrient found in almonds that can inhibit mineral absorption, potentially making the milk easier to digest. Furthermore, soaking can enhance the overall creaminess and flavor of your finished milk.
Here's how to do it: Place 1 cup of raw almonds in a bowl and cover them generously with cool filtered water. Ensure there's at least an inch or two of water above the almonds, as they will expand slightly. Let them soak on your countertop for a minimum of 8 hours, or ideally overnight (12-24 hours for best results). You'll notice the almonds plump up and become softer to the touch.
Blend to Perfection (The 10-Minute Magic!)
This is where the magic happens and your almond milk recipe truly comes to life in mere minutes!
- Drain and Rinse: Once soaked, drain the almonds thoroughly in a colander and give them a good rinse under cold running water. This washes away any residual phytic acid and ensures a clean taste.
- Combine Ingredients: Transfer the rinsed almonds to your high-speed blender. Add 4-5 cups of fresh, filtered water (start with 4 for a thicker milk, 5 for a thinner consistency, you can always adjust later). Now's the time to add your pinch of sea salt, and any optional sweeteners like 2-3 pitted dates, a tablespoon of maple syrup, or a teaspoon of vanilla extract.
- Blend Until Creamy: Secure the lid on your blender and blend on high speed for 1-2 minutes. The goal is a smooth, milky, opaque liquid with as few visible almond pieces as possible. Listen to your blender; it will sound like the almonds are fully pulverized. If you're going for an extra thick or super creamy milk, you can blend for an additional 30 seconds.
Strain for Smoothness
The final step in achieving that silky smooth texture is straining the milk:
- Set Up Your Strainer: Place your nut milk bag over a large bowl or pitcher. If using cheesecloth, line a fine-mesh sieve with 2-3 layers of the cloth and place it over your chosen container.
- Pour and Strain: Carefully pour the blended almond mixture into the nut milk bag or cheesecloth-lined sieve.
- Extract the Milk: Gather the top of the nut milk bag and gently squeeze, allowing the fresh almond milk to drip into the bowl below. If using cheesecloth, gather the edges and gently twist and squeeze. Continue squeezing until you've extracted as much liquid as possible. Be mindful not to squeeze too vigorously if you want to avoid any fine almond pulp in your milk.
- Almond Pulp: Don't discard the leftover almond pulp! This fiber-rich byproduct can be dried and used in baking (think almond flour substitutes), added to smoothies, or even composted.
Storage and Shelf Life
Pour your freshly strained almond milk into an airtight container, such as a glass mason jar or bottle. Store it in the refrigerator. Homemade almond milk, free of preservatives, typically lasts for 3-5 days. Always give it a good shake before serving, as natural separation can occur. You'll know it's past its prime if it develops an off smell or a thicker, slimy texture.
Customizing Your Almond Milk: Beyond the Basic
One of the greatest joys of making your own almond milk is the freedom to experiment and tailor it precisely to your palate. This versatility is where your almond milk recipe truly becomes your own signature creation.
Endless Flavor Possibilities
While unsweetened almond milk is a fantastic, neutral base, don't be afraid to get creative:
- Sweetened vs. Unsweetened: As mentioned, dates, maple syrup, or agave are natural sweeteners. Adjust the quantity to your preference.
- Vanilla Bean or Extract: A classic pairing with almonds, a teaspoon of pure vanilla extract or a scraped vanilla bean pod adds a delightful aroma and taste.
- Chocolate Bliss: Add 1-2 tablespoons of unsweetened cacao powder or cocoa powder during blending for a rich, dairy-free chocolate milk.
- Fruity Fun: A handful of fresh or frozen berries (strawberries, raspberries) can add a beautiful hue and fruity zest.
- Spiced Sensation: A dash of cinnamon, nutmeg, cardamom, or even a pinch of pumpkin pie spice can transform your milk into a warming treat.
- Coffee or Matcha Infusion: Blend in a teaspoon of instant coffee or matcha powder for a unique flavor twist, perfect for lattes.
Adjusting Consistency
Your ideal milk consistency is a matter of personal preference. Our base almond milk recipe uses 1 cup of almonds to about 4-5 cups of water, yielding a rich, creamy texture similar to 2% dairy milk. If you prefer a thinner consistency, simply add a bit more water (e.g., 5.5-6 cups). For a thicker, more luscious milk perfect for lattes, reduce the water to 3.5-4 cups. If you're looking to make a larger batch, say a gallon, you would need approximately 2.5 to 3.5 cups of almonds, depending on your desired thickness.
Practical Uses for Your Homemade Bliss
Once you've tasted the superiority of homemade almond milk, you'll want to use it everywhere. It's excellent on its own as a refreshing drink, but it truly shines in:
- Coffee and Tea: A perfect dairy-free creamer, especially when frothed.
- Smoothies: The ideal base for a nutritious and delicious blend.
- Cereal and Granola: Elevate your breakfast bowl with a fresh, nutty pour.
- Overnight Oats and Chia Puddings: Adds a creamy texture and delicate flavor.
- Baking and Cooking: Use it as a direct substitute for dairy milk in most recipes, from pancakes to creamy soups.
Embracing this simple almond milk recipe is more than just making a beverage; it's about choosing quality, freshness, and personalized flavor. The minimal effort involved truly pays off in a product that far surpasses anything you can buy in a carton. From its clean ingredients to its rich taste and endless customization potential, homemade almond milk offers an unparalleled experience. So grab your blender, soak those almonds, and prepare to elevate your daily routine with the pure bliss of fresh, homemade almond milk.
